Launch Pad Construction - Assembly
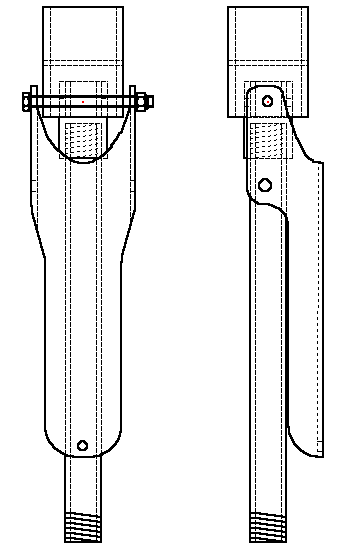
Now with the parts cut and glued, you are ready to assemble the launch pad head.
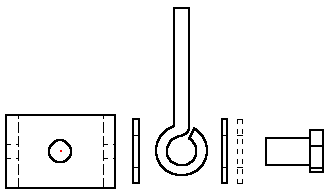
Put teflon thread seal on one end of the sprinkler riser (threaded pipe) and thread the pipe into the coupler (8) that has the piece of pvc glued in and is drilled.
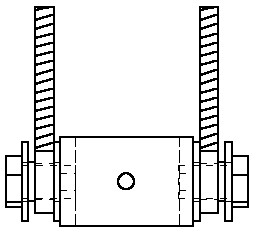
Slide the handle over the 1 1/4" slip coupler so that the hole is down low. See picture below. Slide the two parts over the top of the sprinkler riser and coupler. Insert the 1/4-20 x 3" bolt into one side catching the handle, 1 1/4" slip coupler and starting threading the bolt into the hole that was partially tapped for 1/4-20. Continue threading the bolt through the assembly so that the bolt goes all the way through the 1/2" coupling, the 1 1/4" coupling and the handle. Raise the handle all the way when it comes to tightening the bolt. Just start putting pressure with the bolt, don't tighten the bolt against the handle in the up position. All three parts need to be centered. After the bolt is in place and the parts are all centered, then put the 1/4-20 nylock nut on. Tighten the nut with the handle up where the nut just starts putting pressure on the handle. Don't tighten the nut very much because the nylock will prevent the bolt from coming loose.
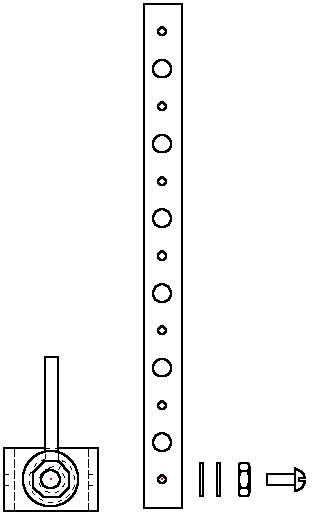
Assemble the sliding collar. Notice that the turnbuckle has one end that is right hand threaded and one that is left hand threaded. Take the right hand threaded eye out of the turnbuckle. Slide a washer onto the bolt, slide the turnbuckle eye onto the bolt, slide another washer onto the bolt and thread the bolt into the collar. If you have a 1/2" long 5/16 bolt then use an extra washer to fill the space. Test fit first. Thread the bolt into the washer until the end of the bolt is flush with the inside of the collar. Test that the collar still slides freely on the sprinkler riser pipe. When you are familiar with the fit, which should be loose enough fo the turnbuckle eye to move freely and take an angle of about 5 degrees. So don't make this assembly too tight.
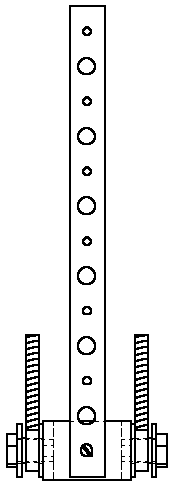
Repeat for the other side. Below is a picture of the assembly so far.
Now add the copper cut straps. Thread a nut onto the #10-24 x 3/8" panhead screw and tighten using plyers. The small hole at the end of the strap gets screwed into the collar. The screw should be tight to hold the copper strap and you may have to add #10 washers so that the screw does not extend into the inside of the collar. Check frequently that the collar slides freely on the sprinkler riser. If it does not, then back the screws out and add washers until free motion and the #10 screws are tight. Repeat for the second side.
You must permanently assemble the bolts and screws with either solder or with the alternative Copperbond epoxy. Clean the copper parts with a little steel wool where the parts are to be joined. I prefer the soldering with a propane torch because it can be undone without much effort. Take care not to solder or epoxy the free movement of the turnbuckle eyes. The copper strap must be imobilized straight in line with the collar center line. See picture. If you solder, then apply flux to the tapped holes on the collar and on the outside of the collar underneath the copper strap. Safety reminder: always have water standing by when using a torch.